In the dynamic world of digital note-taking, adding a creative touch to your documents can make the experience not only functional but also enjoyable. One popular way to personalize your digital notebooks and planners is by incorporating digital stickers. In this guide, we’ll walk you through the process of using digital stickers in GoodNotes, providing you with helpful tips, practical advice, and concrete examples.
1. Realizing the Allure of Digital Stickers in Notes
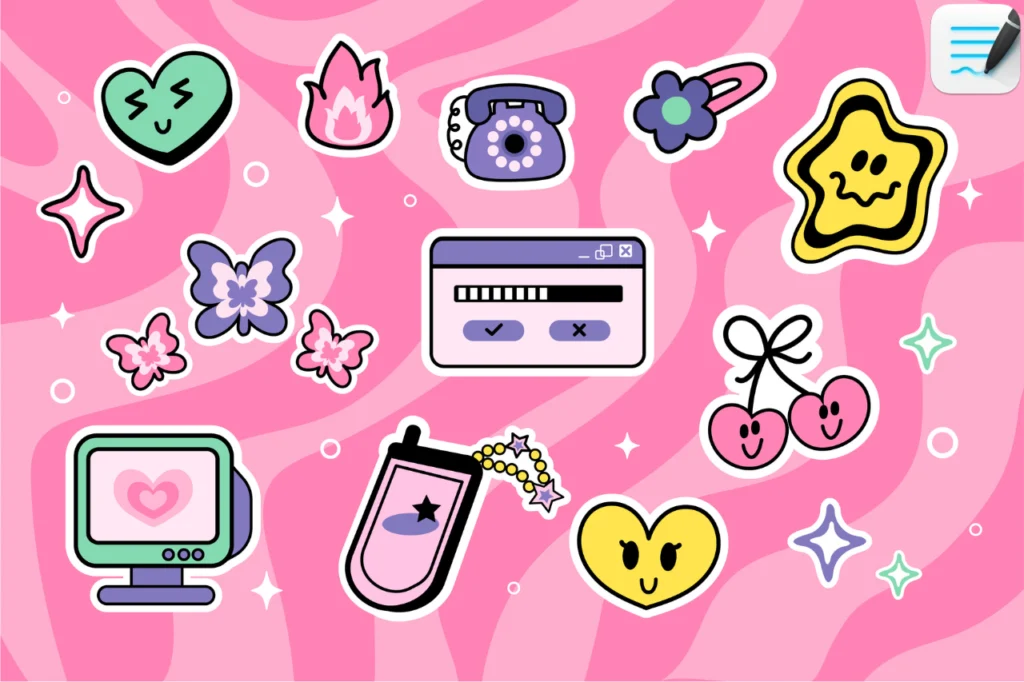
Digital stickers add a splash of personality to your digital notes, making them visually appealing and reflective of your unique style. Whether you’re organizing your schedule, creating a to-do list, or enhancing your study materials, digital stickers can bring an element of creativity to your digital workspace.
2. Obtaining Digital Stickers
Before diving into the world of digital stickers in GoodNotes, ensure you have a collection of stickers in a compatible format, such as PNG or JPEG. You can create your own using graphic design software or explore online platforms offering pre-made digital sticker sets.
3. Saving and Organizing Your Sticker Collection
To streamline the process, save your digital stickers to your device or a cloud storage service accessible from your device. Consider organizing your stickers into folders or albums for easy navigation when you’re ready to use them in GoodNotes.
4. Accessing GoodNotes and Your Document
Launch the GoodNotes app and open the document where you want to incorporate digital stickers. Ensure you’re working with a compatible file format, such as PDF.
5. Importing Digital Stickers
Navigate to the toolbar and tap on the “+” or “Insert” button. Choose the option to insert an image or photo. Locate the folder or album where your digital stickers are stored and select the sticker you wish to use. Adjust the size and placement of the sticker within your document using the resizing handles.
6. Copy and Paste (Optional)
If you plan to use the same sticker multiple times, take advantage of GoodNotes’ copy-and-paste functionality. Copy the sticker, move to the desired location, and paste it within your document.
7. Layering and Customization
Experiment with layering your stickers, text, and other elements within GoodNotes. Utilize the “Arrange” or “Layer” options to control the stacking order of your stickers. Additionally, leverage GoodNotes’ customization tools to change sticker colors or add annotations for a personalized touch.
8. Saving Your Creative Endeavors
Once you’re satisfied with the arrangement and customization of your digital stickers, save your document. GoodNotes generally auto-saves, but it’s wise to manually save your changes to ensure nothing is lost.
9. Embracing Creativity and Enjoyment
The use of digital stickers in GoodNotes is an opportunity to infuse creativity into your digital note-taking experience. Experiment with various styles, sizes, and arrangements to find what resonates with your personal aesthetic. Embrace the joy of customizing your digital workspace.
Conclusion: Elevate Your Note-Taking Experience
In conclusion, integrating digital stickers into your GoodNotes documents is a delightful way to enhance your note-taking and planning endeavors. This creative approach not only adds a visual appeal to your documents but also makes the digital experience more engaging and enjoyable. Embrace the versatility of digital stickers, and let your creativity shine in the digital realm of GoodNotes. Happy note-taking!

